
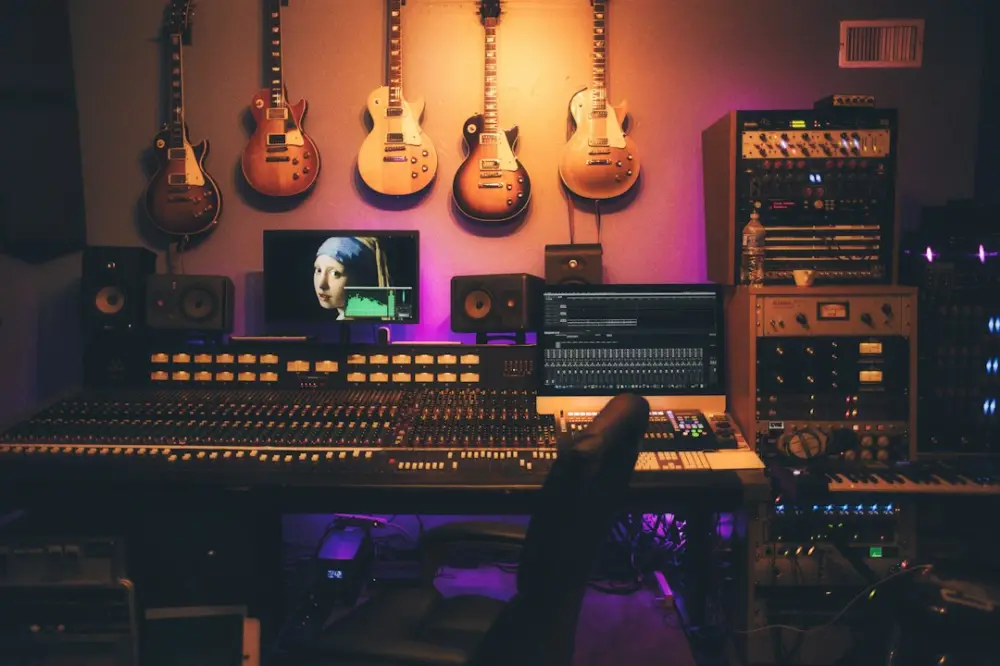
Planning clean studio recordings involves preparing both the physical environment and the electronic signal path to minimize noise and distortion. By focusing on room acoustics and proper gain staging before hitting record, you ensure the highest possible audio fidelity, making the mixing process more efficient and professional.
Technical preparation acts as the foundation for any narrative project. When the signal is captured cleanly, the editor can focus on the nuances of the story rather than trying to salvage audio from a sea of background hiss or room reflections. A proactive approach to setup saves hours in post-production and preserves the natural texture of the voice.
First Steps for Professional Room and Signal Prep
- Start by identifying and turning off any mechanical noise sources, such as fans, heaters, or noisy computer cooling systems.
- The first step in signal prep is to physically inspect all XLR cables and connections to ensure they are seated firmly and free of oxidation.
- To begin addressing room reflections, place heavy blankets or acoustic panels at the primary reflection points to the left and right of the microphone.
- Next, verify that your audio interface and DAW sample rates match to prevent digital clocking errors or jitter.
- Finally, perform a "silent" test recording to check the noise floor and ensure no ground loops are introducing hum into your signal path.
Fundamentals of Room and Signal Prep
The journey of a sound wave from a speaker's mouth to a digital file is fraught with opportunities for degradation. To combat this, we look at the studio as a unified system where the room and the equipment work in tandem. The room is the first "component" in your signal chain. If the room sounds boxy or echoes, no amount of digital processing can fully restore the original clarity of the performance.
Signal preparation involves mapping out the signal chain to ensure each device is operating within its optimal range. For example, in a typical podcast setup using an XLR microphone, a preamp, and an audio interface, each stage must be calibrated to avoid introducing electronic noise. In 2026, even entry-level gear has a remarkably low noise floor, but it still requires a thoughtful configuration to yield professional results.
Acoustic Treatment Basics for Beginners
Many creators mistakenly believe that a high-end microphone will solve their audio issues. However, expensive interface limits fix the sound of a voice bouncing off bare drywall. Acoustic treatment is about controlling these reflections to create a "dry" sound that is easier to manipulate during the mix.
- Absorption: Use thick materials like rockwool or heavy moving blankets to soak up high and mid frequencies. Place these at "first reflection points"—the spots on the walls directly to the left and right of the speaker.
- Bass Traps: Low-end frequencies tend to gather in corners, creating a muddy or "boomy" sound. Placing dense foam or specialized traps in the corners of the room can tighten the low end.
- Diffusion: Instead of soaking up sound, diffusers scatter it. This prevents standing waves while keeping the room from sounding completely "dead" or unnatural.
A practical example is the "closet studio." While small, a closet full of clothes provides excellent natural absorption, making it a far superior recording environment than a large, minimalist living room with glass windows and hardwood floors.
Key Steps to Achieve Accurate Gain Staging
Gain staging is the process of managing the volume levels at each step of your audio chain to maximize the signal-to-noise ratio. Following a consistent workflow ensures that you don't introduce clipping (distortion) or excessive hiss. Use the following steps for every session:
- Check the Noise Floor: Turn on your equipment and look at your meters while the room is silent. If the meters jump significantly, identify the source of the noise (fans, hum, or bad cables).
- Set the Input Gain: While the performer speaks at their loudest intended volume, adjust the preamp gain so the levels peak around -12dB to -6dB in your Digital Audio Workstation (DAW).
- Leave Headroom: Avoid the temptation to record as close to 0dB as possible. Leaving a few decibels of "headroom" prevents unexpected peaks from clipping the signal.
- Monitor the Output: Ensure your headphone volume is high enough to hear detail, but not so high that it bleeds back into the microphone.
By maintaining these levels, you provide the mixing engineer with a file that has enough dynamic range to apply compression and EQ without bringing up a layer of background noise.
Managing Signal Path and Equipment Health
The physical health of your gear is just as important as the settings on your screen. A crackling XLR cable or a loose USB port can ruin an otherwise perfect take. Regularly inspecting your cables for kinks or fraying is a simple but essential part of studio maintenance. In a professional environment, we use balanced cables to reject electromagnetic interference that might come from nearby power strips or computer monitors.
Consider the power source as well. Ground loops—that low-frequency hum often heard in home setups—usually occur when different pieces of gear are plugged into different circuits. Using a single high-quality power conditioner can often eliminate these issues. Managing the path is part of the broader journey inside the studio at the creative process, where technical reliability allows creativity to flourish.
Recording Errors That Ruin Clean Audio
Even with a perfect room and great gain staging, human elements can introduce errors. Plosives—those "popping" sounds caused by bursts of air on letters like 'P' and 'B'—can be avoided by using a pop filter or angling the microphone slightly off-axis. Sibilance, the harsh 'S' sounds, can often be mitigated by microphone placement rather than relying solely on a de-esser plugin later.
Another common error is handling noise. If a guest touches the microphone stand or bumps the desk, those vibrations travel directly into the capsule. Using a shock mount is a standard industry practice to isolate the microphone from these physical impacts. Finally, always double-check your sample rate and bit depth settings in your DAW before starting; recording at 24-bit/48kHz is the standard for most modern podcast and narrative work in 2026.
Unlock Your Potential with AMP Music Lab
While technical guides provide the theory, hands-on experience is where these concepts truly click. Engaging with community-driven learning environments can bridge the gap between reading about acoustic treatment and actually hearing the difference in a controlled space. Exposure to different hardware configurations helps build the muscle memory needed to troubleshoot on the fly.
Educational resources that focus on the intersection of music, technology, and sound design offer a broader perspective on how clean audio serves the final product. Whether you are producing a narrative podcast or a musical arrangement, the discipline of signal preparation remains the same. Learning these workflows in a collaborative setting ensures you are prepared for the complexities of modern sound production.
Keep Learning: Explore More Studio Tips
Mastering the craft of sonic storytelling requires a commitment to the small details. Clean audio is not achieved through a single expensive purchase, but through a series of intentional choices regarding your environment and your equipment. When you prioritize the integrity of the signal at the source, you give yourself the freedom to be more creative during the mixing and sound design phases.
At Calypso Room, the focus is on helping creators move beyond the limitations of standard conference-call audio. By mastering room prep and signal flow, you transition from a casual recorder to a deliberate sound artist. Continue refining your setup, testing your space, and listening critically to every recording to ensure your voice—and your story—is heard with the clarity it deserves.