
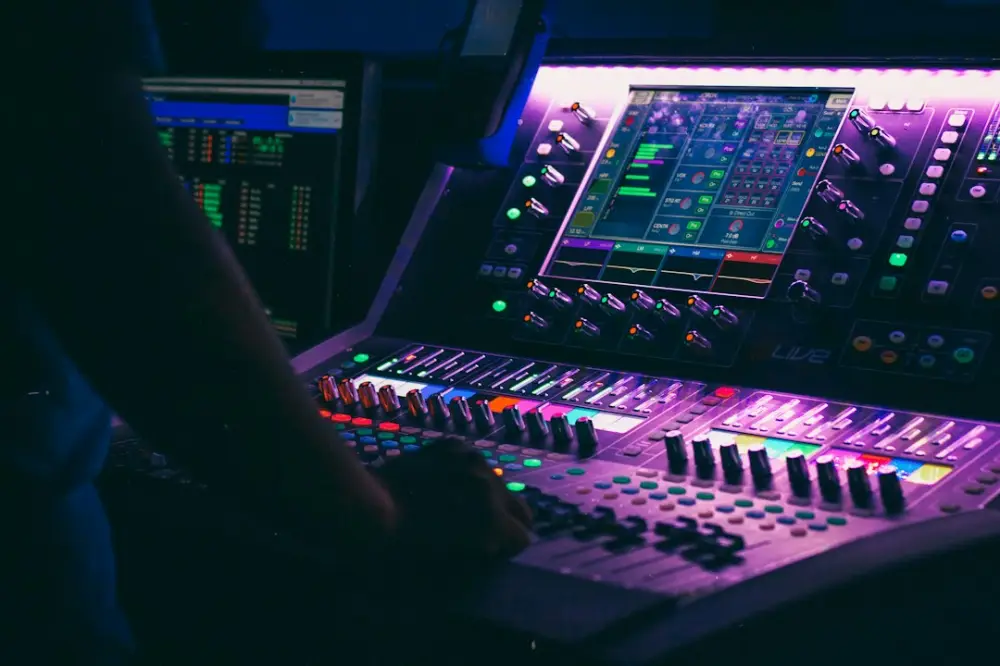
Audio signal processing is the intentional manipulation of sound signals to improve quality, change characteristics, or prepare audio for distribution. In podcasting, this involves converting analog voice waves into digital data through sampling, then applying effects like equalization or compression to ensure the final recording sounds professional and clear to listeners.
While many creators view processing as a tool to fix mistakes after the recording is finished, it is a foundational part of the entire signal chain. From the moment your voice hits the microphone diaphragm to the final loudness normalization for platforms like Spotify or Apple Podcasts, processing dictates the texture, legibility, and emotional impact of your sonic storytelling.
What is Audio Signal Processing?
At its most basic level, audio signal processing is the act of changing a sound's properties. In the context of a home studio or a professional booth, this starts with the physical world. When you speak, you create pressure waves in the air. A microphone converts those physical waves into an electrical voltage—this is your initial signal. Processing is the umbrella term for everything we do to that voltage (in the analog realm) or those numbers (in the digital realm) to make the voice sound more authoritative, intimate, or clear.
For a podcaster, this often looks like a chain of specific tools. You might use a high-pass filter to remove the low-end rumble of an air conditioner or a compressor to even out the volume between a loud laugh and a whispered secret. Each step is a form of processing. Even the simple act of turning up the gain on a preamplifier is a fundamental process that changes the signal's amplitude. Without these manipulations, raw audio often feels thin, distant, or cluttered with environmental noise that distracts the listener from the narrative.
Analog vs. Digital Audio Signals
Understanding the difference between analog and digital signals is vital because modern podcasting relies on a hybrid of both. An analog signal is continuous; it is a direct representation of the sound wave as a fluctuating electrical voltage. If you were to look at an analog signal on an oscilloscope, you would see a smooth, unbroken line that mimics the movement of the air. This is what happens when moving to an XLR microphone actually captures the nuances of your voice through a copper wire.
Digital signals, however, are discrete. They are not continuous waves but rather a series of numerical snapshots. Computers cannot understand the infinite variability of an analog voltage, so the signal must be chopped up into a sequence of 1s and 0s. This digital representation allows us to use software plugins—like those found in Adobe Audition, Hindenburg, or Reaper—to manipulate the audio with surgical precision. While analog processing (using outboard gear like hardware compressors) is prized for its "warmth," digital processing offers a level of control and repeatability that is essential for the fast-paced production schedules of modern podcasting.
ADC and DAC: The Conversion Process
The bridge between the physical and digital worlds is built by two critical components: the Analog-to-Digital Converter (ADC) and the Digital-to-Analog Converter (DAC). These are usually housed within your audio interface, such as a Focusrite Scarlett or a Universal Audio Apollo. When you speak into your microphone, the ADC takes thousands of measurements of the incoming analog voltage every second. This process, known as sampling, creates the digital file you see as a waveform on your screen.
The DAC performs the reverse operation. When you hit play to monitor your edit, the computer sends those strings of numbers back to the interface. The DAC converts the numbers back into an electrical voltage, which travels to your headphones or studio monitors, vibrating the drivers to recreate the sound waves for your ears. The quality of these converters determines how much detail is preserved. Low-quality conversion can introduce "jitter" or a loss of high-frequency clarity, making the audio feel brittle or "plasticky" before you have even begun to apply creative effects.
Sampling Rates and Human Hearing
To understand how many "snapshots" we need to take during conversion, we look to the human hearing range. Most humans can hear frequencies between 20 Hz and 20,000 Hz (20 kHz). According to the Nyquist-Shannon sampling theorem, to accurately capture a frequency, you must sample at a rate at least twice as high as the highest frequency you wish to record. This is why the standard sampling rate for most digital audio is 44.1 kHz or 48 kHz.
Sampling at 48 kHz—the standard for most professional video and podcasting work—ensures that we can faithfully reproduce sounds up to 24 kHz, which is safely beyond the limit of human hearing. Beyond the sampling rate, we also have bit depth, which determines the dynamic range of the recording. A 24-bit recording provides a much lower noise floor than a 16-bit recording, giving you more "headroom" to apply heavy processing later without introducing digital hiss. For a podcaster, recording at 24-bit/48kHz is the gold standard for maintaining signal integrity during the edit.
How Signal Processing Improves Your Podcast
The goal of processing in podcasting is rarely to make the voice sound "artificial"; rather, it is to make the voice sound like the best version of itself. Practical signal processing solves the common problems of home recording environments. For example, a de-esser is a frequency-dependent compressor specifically designed to reduce the harshness of "s" and "t" sounds (sibilance) that can be painful for listeners wearing earbuds. By targeting only the 5 kHz to 8 kHz range, the processor smooths out the voice without muffling the rest of the performance.
Furthermore, signal processing is what allows for consistent volume levels across an entire episode. In a conversational show, one guest might be loud and boisterous while another is soft-spoken. Through the use of gain staging and compression, you can bring these disparate levels into a narrow, comfortable range. This is why mixing and mastering are the hidden requirements for a show that sounds like a broadcast production rather than a Zoom call. When you apply a limiter at the end of your signal chain, you ensure that your audio hits the industry-standard loudness targets (usually -16 LUFS for stereo podcasts), preventing your listeners from having to adjust their volume knobs every time the speaker changes.
Practical First Steps for Processing Your Podcast Audio
To begin refining your sound, you need a consistent workflow that prioritizes clarity and technical standards. Follow these steps to put processing into practice:
- Start by configuring your hardware and DAW to record at 24-bit depth and 48kHz to ensure you have the highest possible resolution for editing.
- The first step in your digital chain should be a high-pass filter set between 80Hz and 100Hz to remove low-end muddiness and mechanical vibration.
- Next, apply a subtractive equalizer to cut narrow frequency bands that sound boxy or nasal before you add any cosmetic enhancements.
- Then, use a compressor with a 3:1 ratio and a slow attack to smooth out volume peaks without killing the natural energy of the speech.
- Finally, use a loudness meter to verify your levels, ensuring your final export reaches -16 LUFS for a consistent listener experience across all platforms.
Ultimately, mastering audio signal processing allows you to move beyond basic recording and into the realm of intentional sonic craft. By understanding how to manipulate the signal, you can remove the technical barriers between your guest's story and your listener's ears. At Calypso Room, we believe that mastering these technical foundations is the only way to truly escape the limitations of conference-call audio. Whether you are refining an XLR signal chain or fine-tuning your digital plugins, every processing choice should serve the clarity and intimacy of the human voice.